Avery Dennison Label Printer Setup & Troubleshooting Guide

Feb 05, 2026
 781
781
Model: Monarch ADTP1BA (Downstairs)
Location: Bookstore
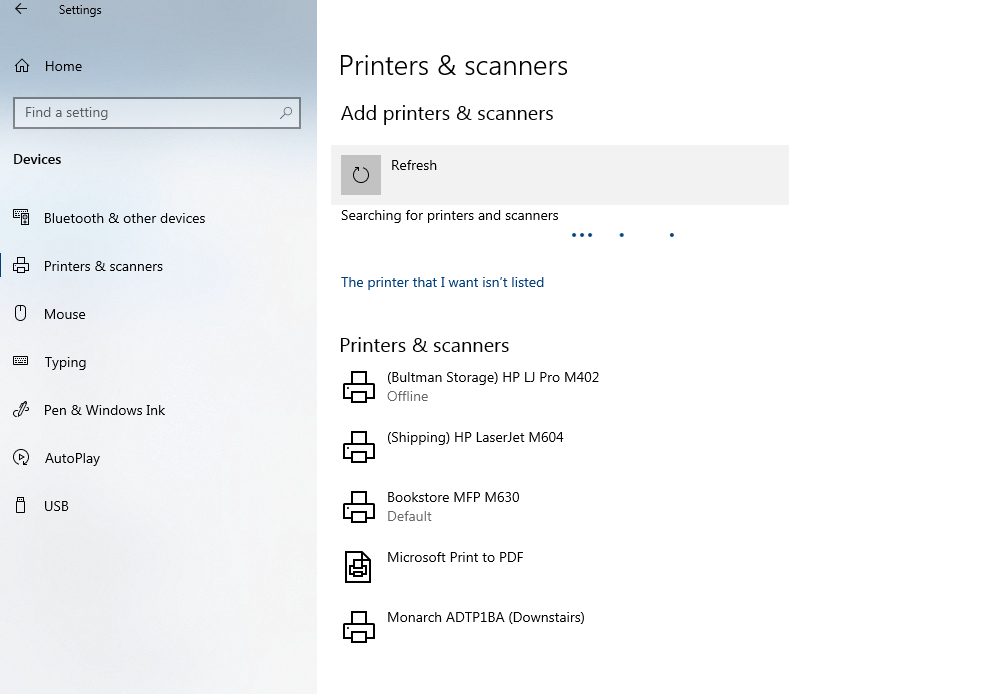
✅ 1. Start Here: Check if the Printer Is Already Installed
|
|
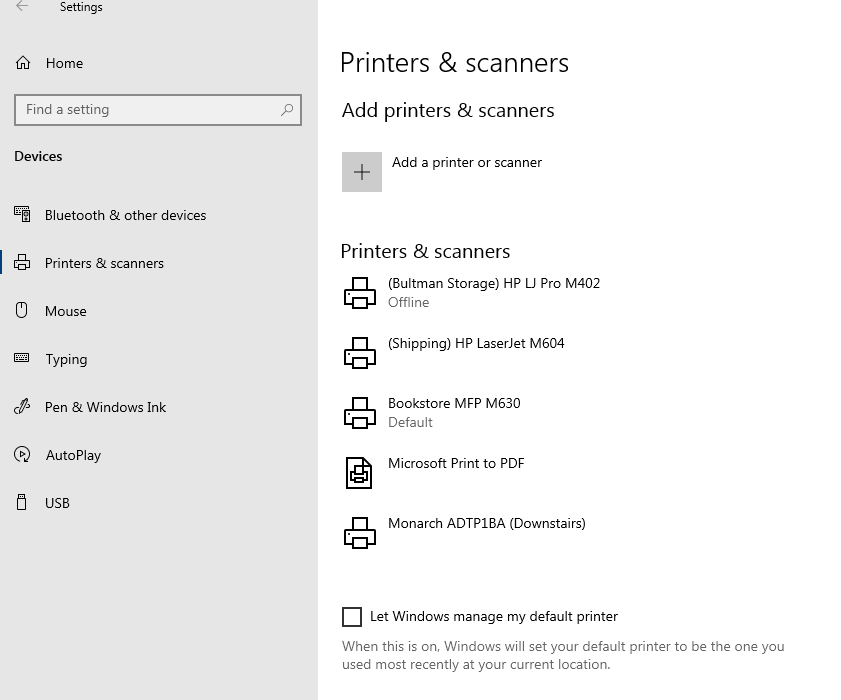 |
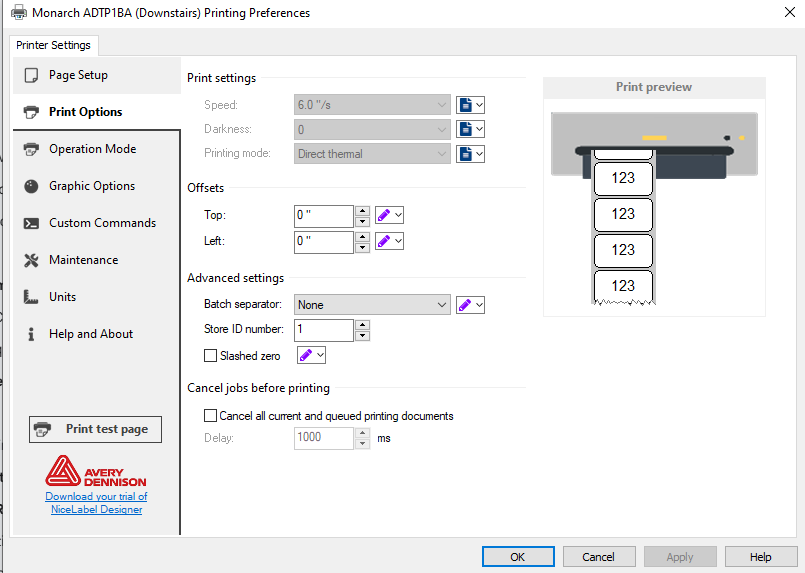
2. Set Required Printing Preferences
|
From Printers & Scanners → Monarch ADTP1BA → Manage → Printing Preferences, apply: Print Options Tab:
Operation Mode Tab:
|
 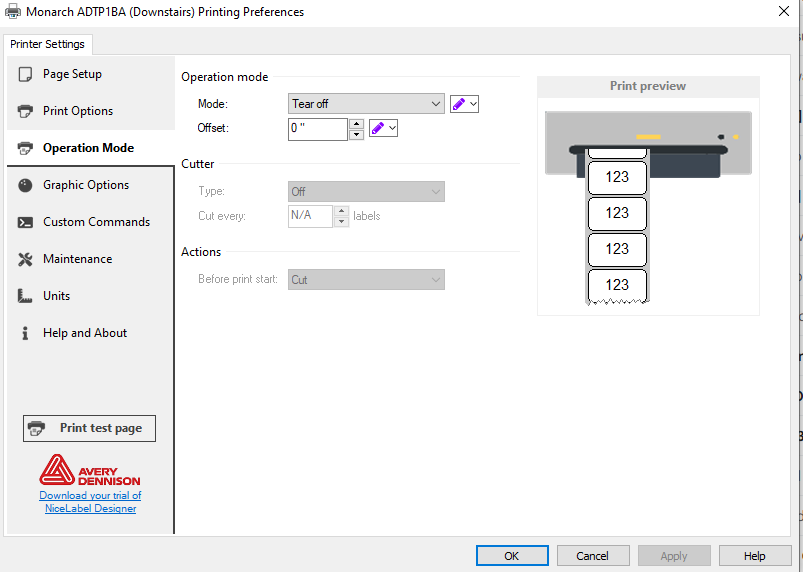 |
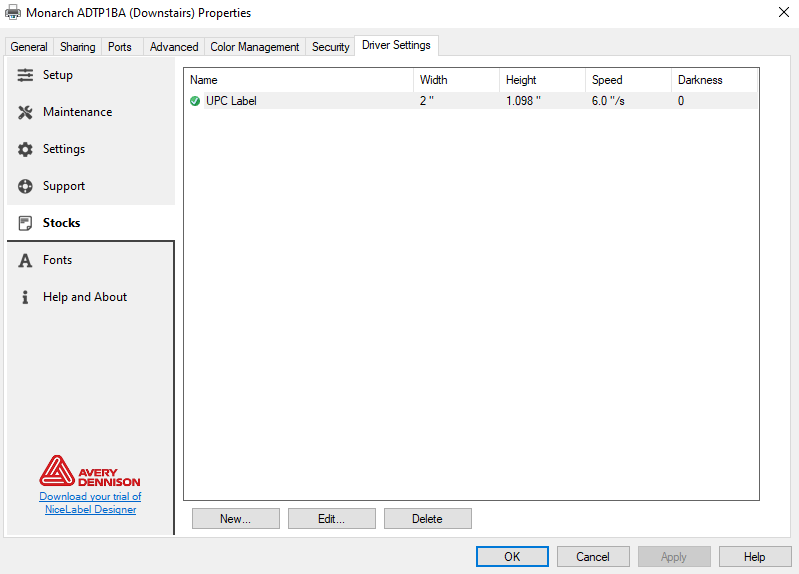
3. [Optional] Set or Edit Stock (Label Size)
|
If you notice printing issues like labels being cut off, misaligned, or blank:
Setting custom stock is recommended if the default UPC Label is missing. |
  |
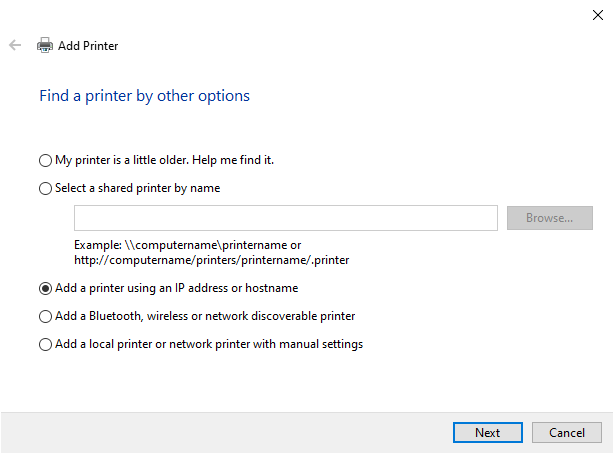
4. Add the Printer by IP Address (If Not Installed)
|
Don’t know the printer’s IP? Ask IT or check the label on the printer. |
  |
5. Install/Update the Driver
If prompted to select a driver:
- Use Avery Dennison ADTP1BA from the list, or click Have Disk.
- Download drivers from:
- Extract the file if needed, then navigate to the
.inffile during driver install.
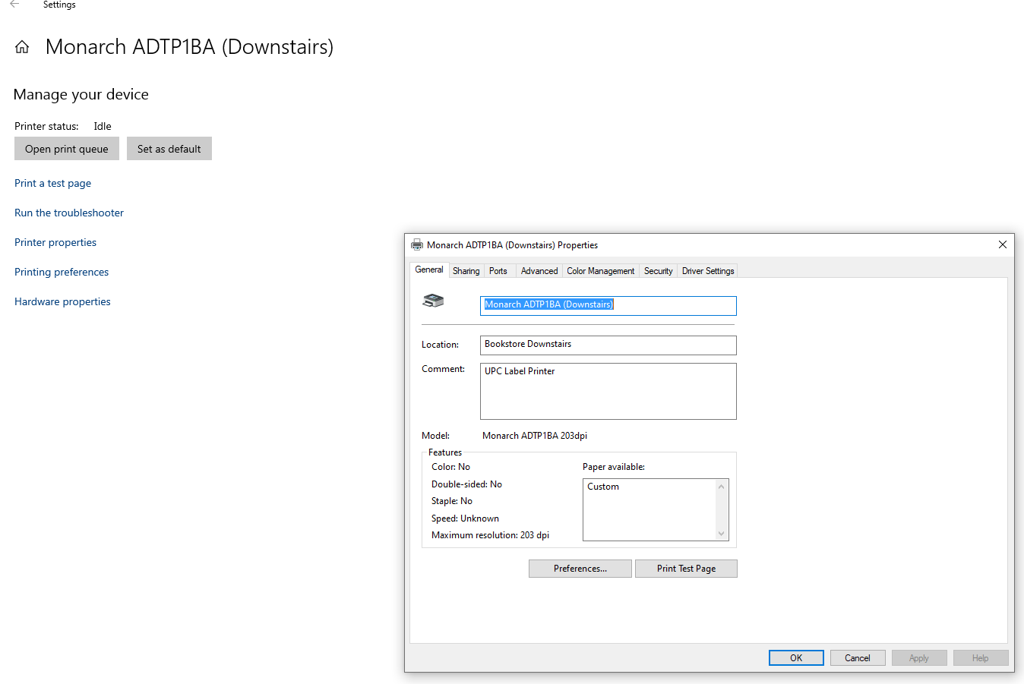
6. Final Setup & Testing
- Once installed, return to Printer Properties > Advanced tab.
- Confirm the driver is listed as Avery Dennison Monarch ADTP1BA 203dpi.
- Click Print Test Page to verify the setup.
Common Issues & Fixes
| Issue | Likely Fix |
|---|---|
| Labels printing misaligned or cut off | Check stock size in Driver Settings (Step 3) |
| Blank labels or no print | Confirm Direct Thermal is set and labels are thermal |
| Printer doesn’t show up | Add via IP (Step 4) or check network connection |
| Not cutting labels | Ensure Cutting Mode is enabled if using auto-cutter |

