
 461
461
When replacing your device, it's important to ensure that your Multi-Factor Authentication (MFA) settings transfer smoothly. Below are instructions for each type of MFA.
2FA(Two-Factor Authentication)/MFA(Multi-Factor Authentication)
Scenario A: If You Still Have Access to Your Old Device
-
Open your Google Account's Security page (sign in if not already).
-
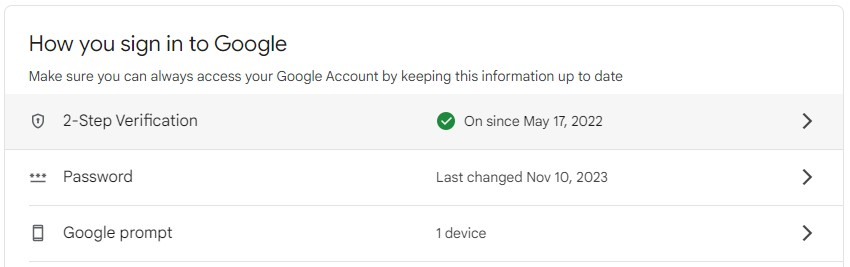
Under the How you sign in to Google section, locate 2-Step verification and click anywhere on that row.
3.1 Google Authenticator App
-
Click on the Authenticator arrow:
-
Install the App on Your New Device:
-
Download the same authenticator app on your new device.
-
Sign in to your account in the app and restore the backup.
-
-
Verify Accounts:
-
Log in to accounts where the app is used, and ensure the codes on your new device are working.
-
Remove the old device from trusted devices in your account settings.
-
3.2 Phone Numbers for Text/Call Verification
-
Click on the Phone Number arrow
-
Click on 'Add a back up 2-Step Verification phone'
-
Type in the phone number you'd like to add
-
Select to receive the code via Text Message or Voice Call
-
Select Verify phone number
-
Click next then type in the code
-
All Set
Scenario B: If You No Longer Have Access to Your Old Device
-
Use Backup Codes:
-
Log in to your accounts using the backup codes provided during MFA setup.
-
Reset MFA and set it up again on your new device by scanning QR codes or entering setup keys.
-
-
Contact CIT (if no backup codes):
-
Verify your identity with CIT to reset 2FA.
-

